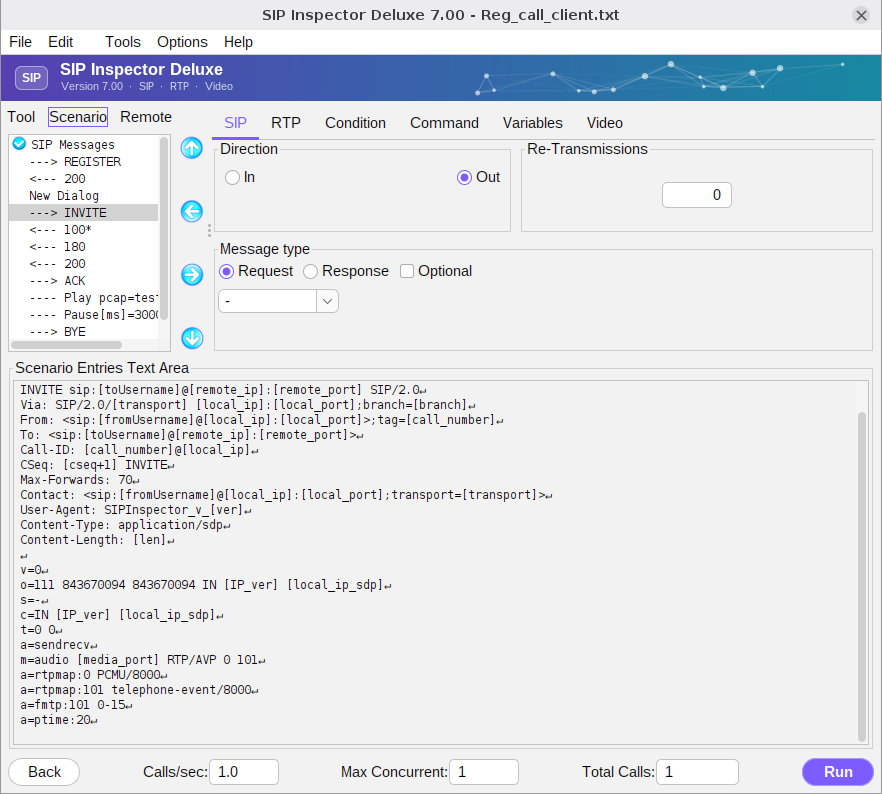
Scenario building screen
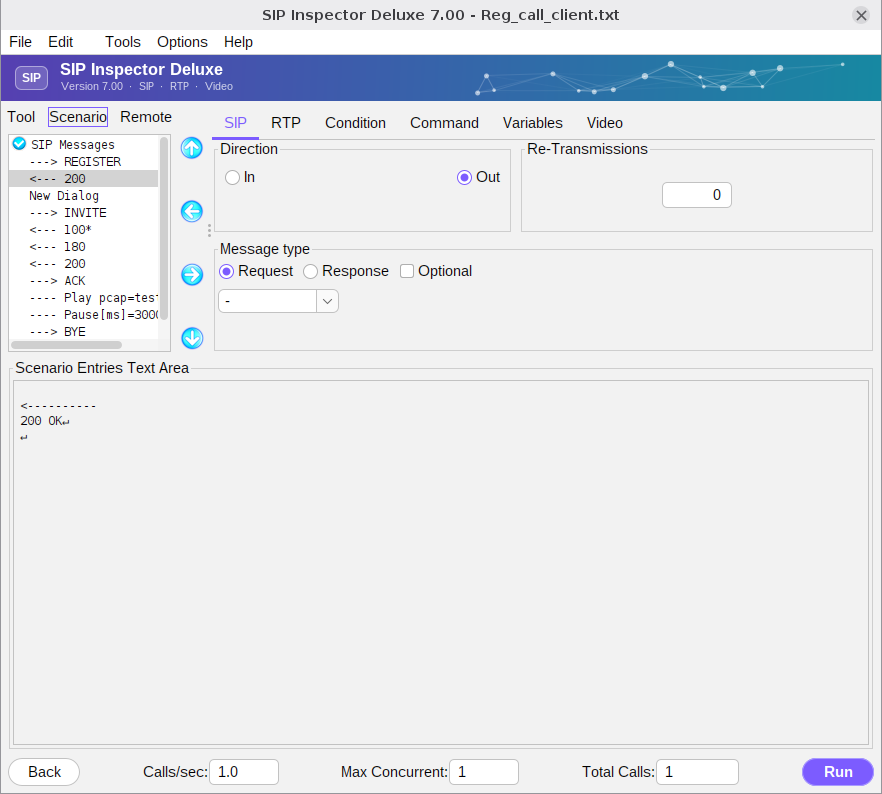
The scenario building screen has 3 sections:
1. Scenario entries. This part of the GUI gives an overview of all the entries of the scenario. One or more entries can be selected. The content of a selected entry is displayed in the ‘Scenario Entries Text Area’. Entries are added and removed with the left pointing and the right pointing arrow icon. To add an entry at a particular position select the entry that it must follow, pick the item in the scenario creation tools and press the left pointing arrow: the new entry appears below the selected one. To delete entries select them and press the right pointing arrow. The up and down arrow buttons move the selected entries. The right edge of the tree can be dragged to make the tree wider.
2. Scenario creation tools. Used to build a custom scenario. There are 6 tabs (a 7th, TLS, appears when the transport is TLS or WSS), split by what they offer:
- SIP - SIP signalling messages;
- RTP - entries that send live speech, play audio from a pcap file, echo the incoming RTP or send DTMF digits;
- Condition - labels, goto and conditional branching, and wait for RTP;
- Command - a pause, a remote target, a new dialog, a special command, wait for RTP, wait for video and set variable;
- Variables - custom variables. The content of a variable is usually extracted from a received message with a ‘star-matching’ pattern. A variable can also get a random value from a range;
- Video - shows the received video and adds an entry that waits for pictures;
- TLS - the certificate of the program and, for a server, whether to ask for the client's certificate. SIP Inspector trusts self-signed certificates of a server by default, so it is not required to add the remote server's certificate.
3. Scenario Entries Text Area. Shows the text of the selected entry. In this area entries can be modified by hand, and new ones can be typed. Comment lines, which start with //, are kept when the scenario is saved. The ↵ sign marks the end of a line (CR LF) of a SIP message; it is only shown on the screen and is not part of the message. Keywords such as [local_ip] and [local_port] are visible in the text; the full list is at the end of this manual.
At the bottom of the screen: Back returns to the initial screen. Calls/sec is the speed at which calls are generated; the value can be a fraction: 0.1 generates one call every 10 seconds, 2 generates two calls every second. Max Concurrent limits the number of simultaneous calls (0 means unlimited). Total Calls tells when call generation stops (0 means endless). Run starts the scenario and brings up the scenario progress screen. When the program works as a server these three fields are hidden: the other side makes the calls.